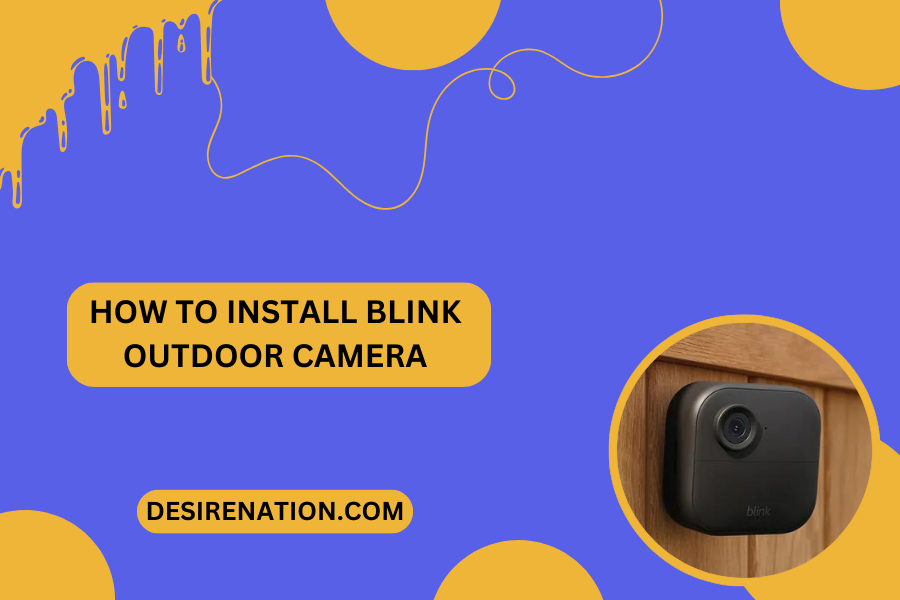
Blink Outdoor cameras offer an effective and convenient way to monitor your home’s surroundings. Whether you’re enhancing security or keeping an eye on outdoor spaces, installing a Blink Outdoor camera is a straightforward process. In this comprehensive guide, we’ll walk you through the steps to ensure a seamless installation.
1. Unboxing and Checking Contents:
-
Inspect the Package:
- Open the Blink Outdoor camera package and ensure that you have all the necessary components. This typically includes the camera unit, mounting hardware, sync module, batteries, and user manual.
2. Choosing Camera Placement:
-
Select Optimal Locations:
- Identify the areas around your home that you want to monitor. Consider points of entry, high-traffic zones, and any specific areas of concern. Blink Outdoor cameras are designed for both indoor and outdoor use.
-
Mounting Height:
- For outdoor use, choose a mounting height that provides a clear view of the desired area while minimizing the risk of tampering.
3. Installing Batteries:
-
Open the Camera Unit:
- Open the back cover of the Blink Outdoor camera unit. This is usually done by pressing the release button on the back and sliding the cover off.
-
Insert Batteries:
- Insert the provided batteries into the designated slots. Ensure proper orientation, following the plus (+) and minus (-) indicators.
-
Close the Cover:
- Close the back cover securely to protect the batteries from the elements.
4. Setting Up the Sync Module:
-
Connect Sync Module:
- If your Blink Outdoor camera system includes a sync module, connect it to a power source using the provided USB cable and adapter.
-
Sync with Camera:
- Follow the manufacturer’s instructions to sync the camera with the sync module. This usually involves pressing the sync button on both the camera and the module until they connect.
5. Mounting the Camera:
-
Choose Mounting Surface:
- Select a suitable surface for mounting. Blink Outdoor cameras come with versatile mounting options for walls, ceilings, or other flat surfaces.
-
Use Mounting Bracket:
- If your camera comes with a mounting bracket, attach it to the chosen surface using the provided screws. Ensure that the bracket is securely fixed.
-
Attach Camera:
- Once the bracket is in place, attach the Blink Outdoor camera to the bracket. Depending on the model, this may involve sliding the camera onto the bracket or securing it with additional screws.
6. Adjusting Camera Angle:
-
Positioning for Optimal View:
- Adjust the camera angle to achieve the desired field of view. Ensure that the camera covers the intended area and captures relevant activity.
7. Testing and Finalizing Installation:
-
Power On:
- Power on the Blink Outdoor camera and confirm that it connects to the sync module. Check for any indicator lights that signify successful activation.
-
Sync Module Placement:
- Ensure that the sync module is strategically placed within range of the cameras to maintain a stable connection.
-
Testing Functionality:
- Test the camera’s functionality by triggering a motion event or manually capturing footage through the associated Blink app.
8. Configuring Camera Settings:
-
Download Blink App:
- Download the Blink app on your smartphone or tablet. Create an account or log in if you already have one.
-
Connect to Camera:
- Follow the app’s prompts to connect to your Blink Outdoor camera. This allows you to configure settings, set up motion detection, and customize alerts.
9. Maintenance Tips:
-
Check Batteries Regularly:
- Keep an eye on the battery levels through the Blink app and replace them as needed.
-
Clean the Lens:
- Periodically clean the camera lens to ensure clear footage. Use a soft, lint-free cloth to wipe away any dirt or debris.
Conclusion:
Installing a Blink Outdoor camera is a user-friendly process that empowers you to monitor your property with ease. By following these step-by-step instructions, you’ll ensure a successful installation and be on your way to enjoying the benefits of a reliable outdoor surveillance system. Keep the Blink app handy for ongoing management and customization of your camera settings.
You Might Also Like These:
How to Use a Nikon Camera as a Webcam
Does Nintendo Switch Have a Camera?


